
Free U.S. Shipping on Orders over $50 - DAILY WORLDWIDE SHIPPING
FOR ALL SUBSCRIBERS

Last Updated: November 7, 2026
Quick Summary
To ship retro consoles safely, wrap the unit in two to three layers of small-bubble wrap, add foam corner pieces, and use the box-in-box method with at least 2 inches of cushioning on every side. Remove discs, cartridges, memory cards, and power bricks first, then pack accessories separately so nothing shifts inside the box.
At Retro Gaming of Denver, we've handled more original hardware than we can count, and the damage we see almost always comes down to movement inside the box. A console that can slide can also slam into a wall.
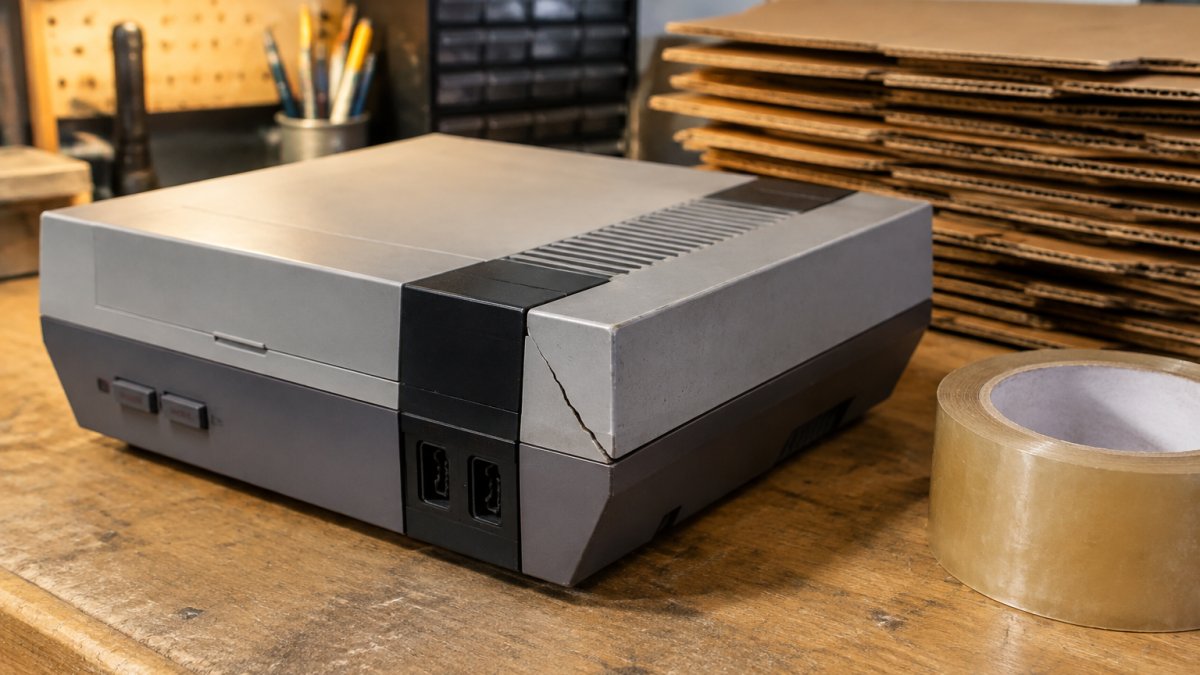
Here's the part most people miss: the original box is not armor.
Fragile plastic, loose disc drives, and heavy power bricks all make retro gear a rough shipping candidate. If shipping goes wrong, you can browse a Playstation Console Original as a replacement. Pack it like it's glass, because functionally, it is.

Documentation is your insurance policy, literally and figuratively. Photograph every side of the console before it goes in the box. Then photograph it powered on, with the serial number visible.
Why bother? Because if a carrier damages the package, you'll need proof of the condition it left in. A timestamped photo set settles arguments fast.
Our checklist before any console leaves the building:
Want a deeper walkthrough on spotting original parts? Our guide on how to identify original game hardware walks through the details worth recording.
A sturdy double-wall box, bubble wrap, foam sheets, packing paper, and void fill will protect most retro hardware. Skip anything that lets the console touch the outer wall.
Here's what belongs on your table:
Packing peanuts alone can be a trap. They shift and settle, and can leave your console floating in empty space by the time it reaches its destination.
Packing a game console for shipping takes about 20 minutes and follows a simple order: prep the unit, wrap the body, cushion the corners, fill the gaps, then seal the box so nothing moves. The trick is that "the console" isn't one thing, a front-loader NES, a PlayStation 2 with a tray, a Game Boy, and a Sega Genesis with a Sega CD attached all fail differently in transit. Pack to the specific hardware, not to a generic checklist.
Here's the full process:
Corners take the hit in almost every drop. Wrap them like they matter, because they do. Two layers of bubble wrap on the body, plus foam on all four corners, spreads the force of an impact across the whole shell instead of one brittle edge.
Give the wrapped console a gentle shake test. If you hear movement, add more fill.
This is where most guides wave their hands. Retro hardware isn't one category, and the failure points differ by machine.
Cartridge-based consoles (Atari 2600, NES, SNES, Genesis, N64). These are mostly solid-state and tolerate shock better than disc systems, but the plastic shells get brittle with age and the cartridge slot is a weak point.
Disc-based consoles (PlayStation 1/2, Sega Saturn, Dreamcast, GameCube, original Xbox). The optical drive is the fragile part.
Handhelds (Game Boy, Game Gear, PSP, DS, Vita). The screen is the whole game.
Systems with protruding accessories (Sega CD, 32X, TurboGrafx-CD, external power bricks). Detach add-ons before packing.
Never toss controllers loose into the same box. They become projectiles. Wrap each controller individually, coil cables and tie them with a twist tie, and bag cartridges or discs on their own.
Packing games separately from the console also protects labels and pins. A loose cartridge rattling around can scratch a disc or bend a connector. Coil controller cables in a loose loop, never wrap them tight around the controller, which stresses the strain relief at the plug.
Checking your original GameCube pads before a move? Browse original GameCube controllers if any of yours are already worn out.

Here is the packing order we follow for every console that leaves our building.
| Step | What to do |
|---|---|
| 1 | Clean and dry the console; wipe vents and slots |
| 2 | Remove discs, cartridges, memory cards, and power brick |
| 3 | Wrap body in two to three layers of small-bubble wrap |
| 4 | Add foam corner pieces to absorb drop impact |
| 5 | Place wrapped console in inner box, then outer box |
| 6 | Fill every gap until nothing shifts when shaken |
| 7 | Pack accessories separately |
| 8 | Seal all seams with wide packing tape |
You don't need the original box. You need a sturdy outer box, a smaller inner box, and enough padding that the console cannot move. That's the whole trick.
The box-in-box method works like this: wrap the console, place it snugly in a smaller box, then float that inner box inside a larger carton surrounded by at least 2 inches of cushioning on every side.
A few rules that save consoles:
Three quiet threats ruin retro hardware: dying save batteries, static discharge, and moisture. None of them show up in a photo, and all of them can end a console's life in transit. Batteries, static, and moisture are easy to overlook when packing, and they can quietly cause damage.
Save batteries. Many cartridge games rely on a coin cell to hold saves. We stock tabbed CR2032 replacement batteries built for NES, SNES, Genesis, and N64 carts, and our Game Cartridge Battery Replacement Service can swap a dying cell for you if you'd rather not solder it yourself.
Lithium batteries and carrier rules. Devices with installed lithium batteries, handhelds like the PSP, DS, and Vita, plus any controller with a built-in pack, fall under carrier hazardous-materials rules.
Static. Dry air and synthetic packing materials build up charge. Use antistatic bags for loose boards, cartridges, and any bare circuit boards you're shipping alongside a console.
Moisture. Cardboard soaks up humidity, and a console that's still cold from a garage will condensate once it hits a warm truck.
Temperature. Extreme heat and cold are hard on old plastic, LCD screens, and save batteries.
Choose a shipping option with tracking and declared value coverage. Then photograph the unopened box before you touch it. If damage happens, those photos plus your pre-ship documentation are your claim.
Follow this order if a package arrives damaged:
At Retro Gaming of Denver, our consoles carry a 1-year warranty. If something arrives wrong, reach out and we'll sort it.
Bringing your console to us in person? Pack it the same way you would for shipping, so it arrives in one piece. A car ride can rattle hardware just as badly as a delivery truck.
If you're planning a visit or sending something our way, a Retro Gaming of Denver gift card is an easy way to cover a service while you're at it. And if the trip is because something's already acting up, our Video Game Console Repair Services are worth a look before you box it up.

One last piece of advice from years of handling this gear: treat every retro console like it's the only one left. Because for someone, it is.
Got a console that needs more than bubble wrap? Whether it's a cracked case, a dead save battery, or a drive that won't read discs, Retro Gaming of Denver can help. We offer a 1-year warranty, free shipping on orders over $50, and worldwide shipping, so your next classic arrives ready to play.
Yes, pull any removable batteries before you ship retro consoles. Old AAs left inside a controller can leak acid during temperature swings and corrode the contacts, which is a pain to fix. Cartridge save batteries are soldered in, so leave those alone. If a handheld has a removable rechargeable pack, take it out and pack it separately. Many carriers also have rules about loose lithium batteries, so check with yours before shipping a battery-powered device.
Plan for at least 5 centimetres (2 inches) of padding on every side of the console, which is the guideline most console-shipping guides recommend. That means the outer box should be noticeably bigger than the console itself. Use foam sheets, bubble wrap, or packing peanuts to fill that gap completely so the console cannot shift when you shake the box. If you can hear it move, add more cushioning before you seal the seams.
No. A bubble mailer offers almost no impact protection, and retro consoles are heavy enough to crack their own plastic shells or damage internal components during a drop. Always use a sturdy double-wall shipping box with proper cushioning. If you are shipping a loose console, treat it like the fragile item it is and go box-in-box: pack the console in a smaller box, then place that box inside a larger one with void fill between them.
Always pack them separately. Controllers, power cables, AV cables, and games can scratch the console shell or bang into its ports during transit. Wrap each item individually, bag the cables so they do not tangle, and place them in their own section of the box with padding between them and the console. Keep games in a separate layer too, and pack cartridges or discs so they cannot rattle around.


{"one"=>"Wählen Sie 2 oder 3 Artikel zum Vergleichen aus", "other"=>"{{ count }} von 3 Elementen ausgewählt"}
Wählen Sie das erste zu vergleichende Element aus
Wählen Sie das zweite zu vergleichende Element aus
Wählen Sie das dritte Element zum Vergleichen aus

Einen Kommentar hinterlassen